Monday, September 29, 2014

Fairy Princess Tea Party

Lily hosted a Fairy Princess Tea Party for 4 of her friends last Saturday. We have been planning this for a month! I have to admit that at times, I was probably more excited than she was because I loved planning all of this girly stuff. :0)
The day before and the day of, though Lily was beyond excited as we got everything ready and she (impatiently) waited for her friends to arrive.


She picked out 5 different colored tutus, wings, tiaras, and wands. They were all matching except her wings were rainbow colored (because when she saw it, I really couldn't say no to her...) to go along with the rest of her light pink accessories, and the yellow set had a pink tiara because I could not find a yellow one. But it al worked out! :0)


All of the girls got treat bags filled with all sorts of girly stuff; nail polish, lip gloss, rings, bracelets, etc. 


The night before, Lily helped me set the table. A special thank you goes out to my sister Amy for letting me borrow tea pots, tea trays, and letting me completely redo your tea cup. :0) 


On Saturday, we got the craft stuff ready; beads and colored elastic for necklaces, bracelets, and rings!


We also had flower wands that the girls could decorate with jewels.


We also had a game; Pin the Wings on the Fairy!


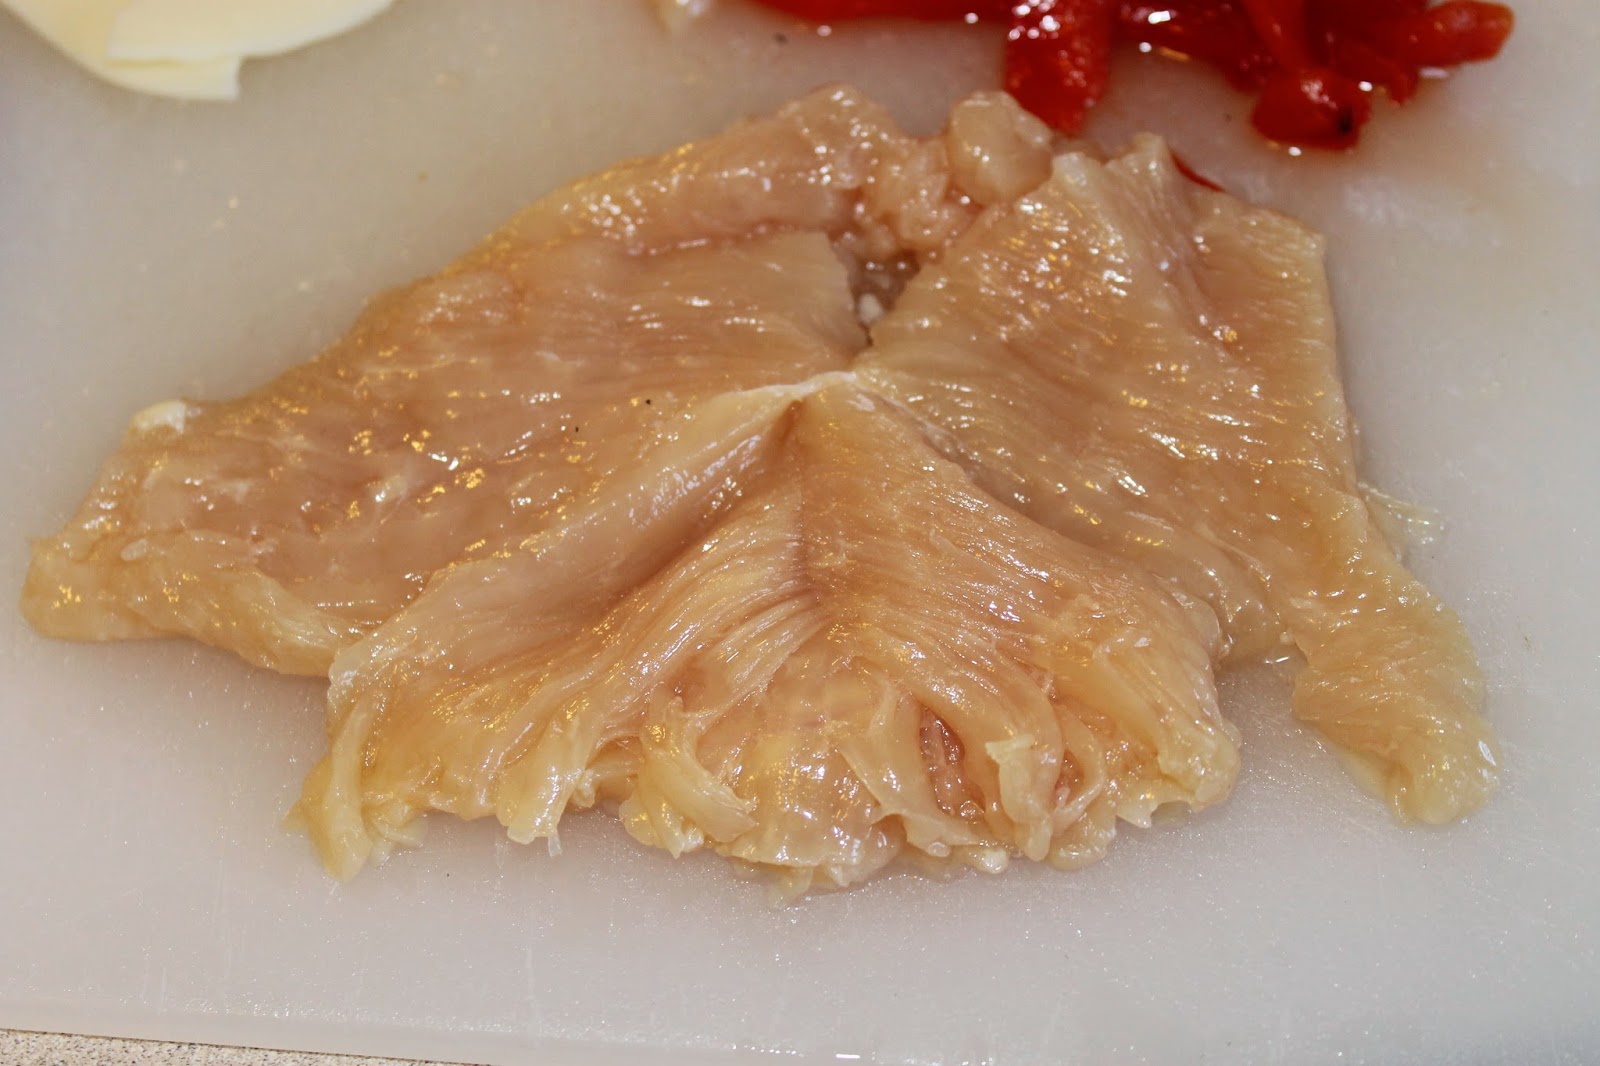
Lily helped me make most of the food too. (She loves to bake!)

We had Butterfly Sandwiches (peanut butter & honey):


Princess Cupcakes:


Fairy Bread:


Mini Chocolate Mousse:


Fairy Bites:


Instead of tea, I thought 7 & 8 year olds would prefer lemonade. We had both regular and pink:


Woodland Berries:


Chocolate Unicorns:


and Flower Mints:


When everything was ready, Lily got her fairy princess outfit on:


As her friends started arriving, they all got their outfits on. There was a lot of giggling, and talking!! Seriously, I didn't think it was going to be so loud!! LOL!


After everyone was dressed, I took individual pictures of them with Lily and them a group photo.

This is Lily & Isabella:


Olivia & Lily:


Allison & Lily:


Averie & Lily:


Everyone!


We started off with the food!
(Thanks to my friend Wendy (Averie's mom) for staying and helping!) :0)


When the girls had their fill of treats and lemonade, we made the wands:


Then it was time for Pin the Wings on the Fairy!


They then decided that they were in need of refreshments. (Their words, not mine. LOL)


Soon they were ready to make their jewelry.


They made all kinds of fun and pretty things!
When they got tired of that, they went back to munch on more treats, then they had an impromptu dance party while watching a movie until they got picked up. :0)
Lily had SO much fun. She wants to have another one next week.......
I don't think that happening quite so soon though......
I'll post recipes for the treats later.

Thursday, September 25, 2014

Home-Made Peanut Butter Ice Cream (Without an ice cream machine!)

This recipe could not be any easier & it is soooo good!!
All you need is peanut butter, sweetened condensed milk, and a pint of heavy whipping cream.


Using a mixer, whip the cream until it is really thick.


While that is mixing (or after if you don't have a stand mixer), mix 3/4 cup peanut butter and one can of sweetened condensed milk.


Slowly fold in the cream.


In an air tight container, place in the freezer for at least 12 hours.


It will be thick and creamy and yummy!!

We have only tried mixing peanut butter in, but you could probably do anything. I think next time we will try cinnamon with cinnamon chips. :0)

Try this soon, it is worth it!

Monday, September 15, 2014

Stuffed Chicken Breasts

I made these last week & they were delicious!    
Chicken, stuffed with provolone, prosciutto ham, and roasted red peppers and topped with breadcrumbs. Yes, please!     

 
I preheated the oven to 450*
Then I butterflied the chicken breasts. (Cutting them almost in halfto make them thinner.)

 
I layered the prosciutto, cheese, and roasted red peppers on the chicken.  

 
Then I rolled up the chicken:

 
I had breadcrumbs on a plate (I used roasted garlic, but you could use Italian or plain) and I sprinkled some on the top of each roll, and placed it onto a pan with foil that had been sprayed with cooking spray. (no special reason for the foil, Im just lazy and this is easier to clean up.) :0)

 
When all the rolls were done (and one piece of plain chicken for my youngest because really, some days it's just easier to not listen to her complain at dinner....) I sprayed the tops of the chicken with cooking spray. (I use butter flavor!)

 
Bake for 20-25 minutes, checking to make sure their done before serving.

Doesn't this look yummy?!?


We had ours with green beans and salad and this was a pretty low carb dinner for us. :0) This will definitely be on the menu again!

Friday, September 12, 2014

Burlap Fall Wreath (Tutorial)

I have been looking at fall wreathes for a few weeks now, but never found anything that I liked that I wanted to pay $80.00 for. Seriously. Why are wreathes $80.00??? Anyway, I decided to look up a few variations of wreathes and put together one that I liked. Here is my wreath:

I wanted a burlap wreath with the letter of our last name on it and sunflowers (my favorite flower), so I got a wire wreath frame, sunflowers, that pumpkin thing, regular & orange burlap, orange & yellow paint (for the L) and the letter L. Everything except the L came from Wal-Mart. The L came from Hobby Lobby.


I looked up how to make a burlap wreath & this was the easiest version:

The burlap I bought for the frame was 5 inches wide and 10 yards long. I used all of the burlap. I started by weaving the burlap through the spaces between the wire:


Next, I pulled some of the burlap up through the top space:


After that, I pulled the burlap back, and pulled more out of the middle space, then did the same for the bottom space. I pulled all three loops so they were in a row, and went back to the top space and repeated:


It was a little hard to get the hang of it to begin with, but soon, I was moving along quickly!
Half way done:


All done! This only took me about 15 minutes.


When you are done, make sure you fluff out your loops to completely cover the wires.

Next, I made the bow. I used a 9 foot spool of orange burlap for this. I had enough for my bow, but not ribbons that hung down. I could have gotten more for the ribbon, but decided I liked it this way anyway. :0)

I cut the burlap into 5 equal strips, leaving a 6th strip about 1/2 as long as the rest.


Taking a stapler, staple the 5 strips into circles: 


Pinch each strip in the middle where they are stapled, and place one on top of the other forming a bow:


I used pipe cleaners to tie them together:
 

Then take your smaller, 6th strip, and staple it into a circle:


Place it on the top in the middle of the bow and wrap another pipe cleaner around the entire bow:


Fluff out your bow:


Before I started the bow, I had painted this:
 

I used a pencil eraser to make the dots. :0)

After all of that was done, I tied the bow in with the pipe cleaners. Then I arranged the flowers how I wanted them and hot glued them on. I also hot glued the L on.
Here is my finished wreath:


I ended up taking the pumpkin thing off because it was really bothering me for some reason. I like it MUCH better now. :)

This wreath only cost about $10.00 to make and with drying time of the paint, only about and hour & a half.